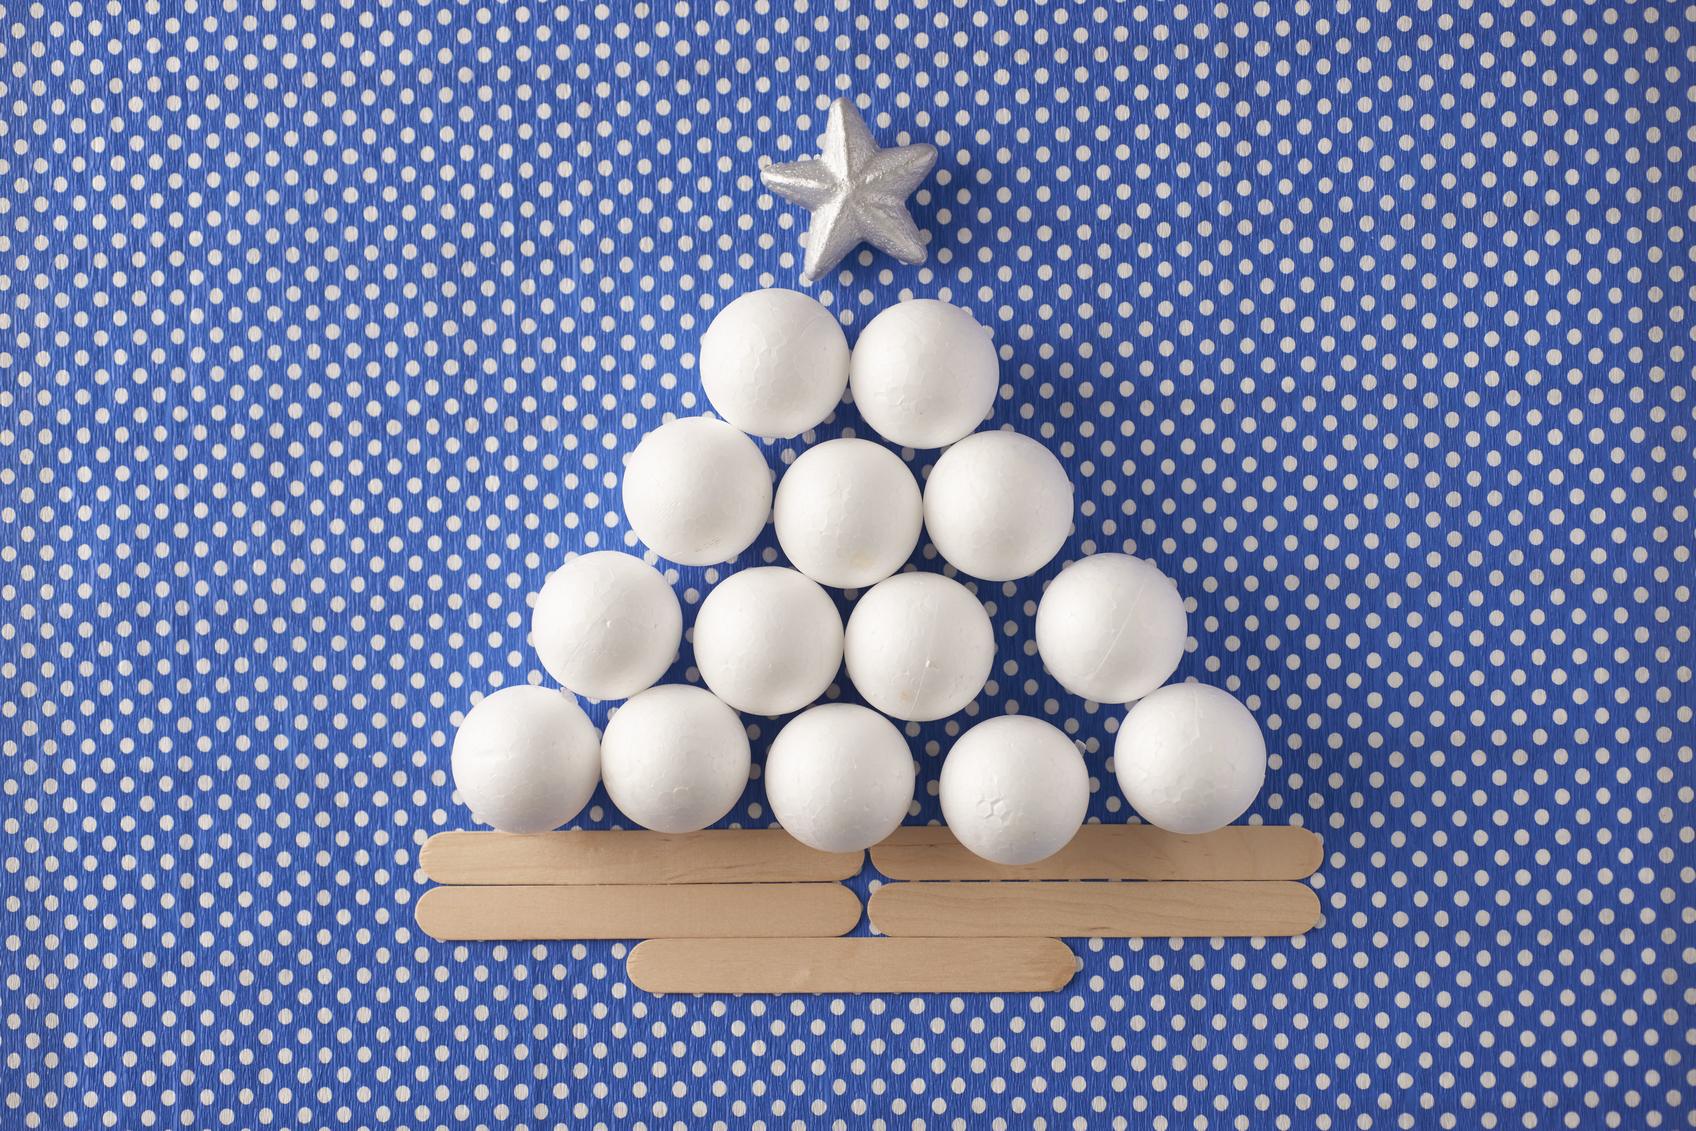
How to Make a Christmas Tree from Waste Material

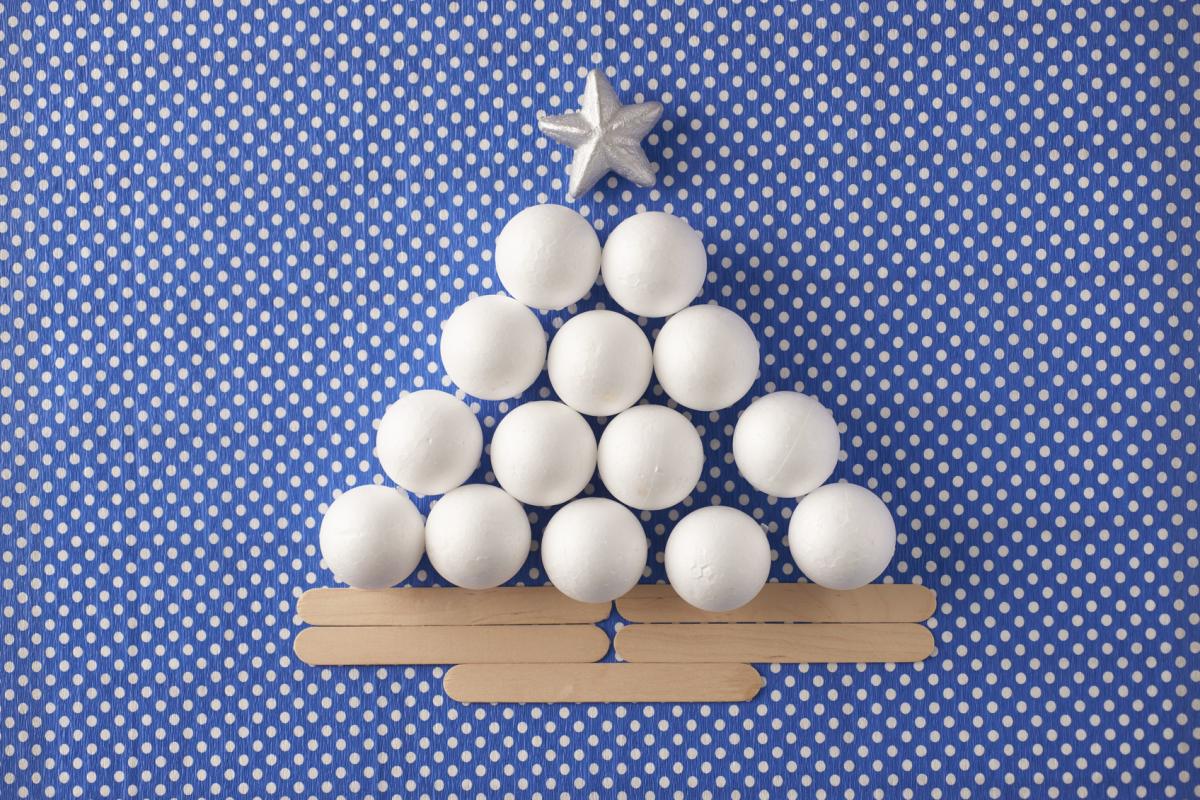
Every December, businesses and shops experience a significant surge in sales as people begin to spend their yearly savings. It is the quintessential spending season where people invest in gifts, food, travel, and decorations, which often end up as waste. For many families, it is a cherished tradition to pick up a Christmas tree and then honor the tradition of decorating it together. However, for some families, buying a real Christmas tree isn't feasible, leading them to opt for artificial ones. An alternative and environmentally-friendly option is to use waste material to make a Christmas tree.
In this OneHowTo article, we share several creative ideas on how to make a Christmas tree from waste material.
Empty water (or glass) bottles
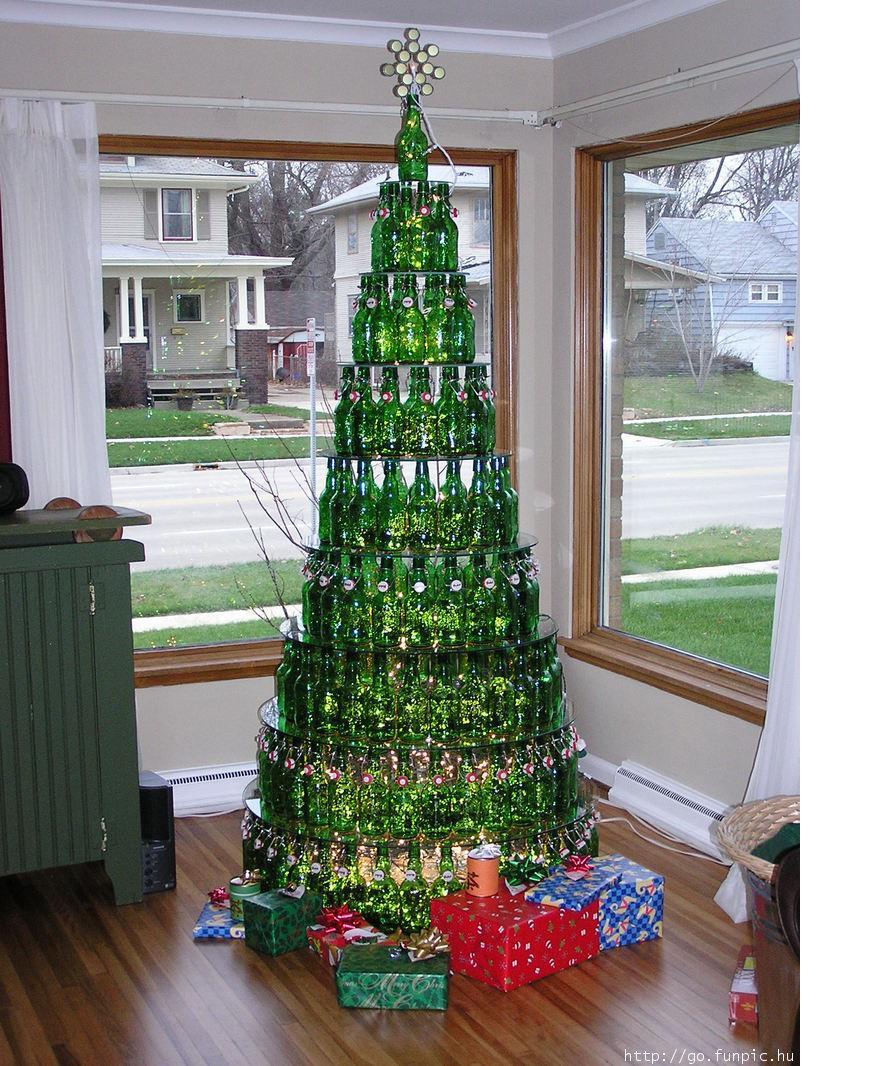
Everyone has water bottles piled up and ready to be recycled. So, how about giving them a second chance by upcycling them into an original DIY Christmas tree?
For this idea, we will use:
- Empty plastic bottles
- Entrée and dessert paper plates
- Different color paint (green, red, or white)
- Glue
A tree is essentially a pyramid, so the bottles will form the different levels. The number of plastic bottles you need depends on the desired size and height of your Christmas tree.
To begin making a Christmas tree from waste material, cut your plastic bottles at mid-length. Ensure they are all cut to the same length. You can paint the bottles and plates green to mimic the color of a Christmas tree or choose any color you like. Discard the top halves (keep one for the top) and gather all the bottom halves.
For the lower level, place your bottles upside down in a circular shape. Then, place an entrée paper plate on top and start arranging a second layer of plastic bottles. Ensure this level is smaller by using fewer bottles.
Next, place a dessert paper plate on top and create a third layer of plastic bottles. Finally, decorate the top of your Christmas tree by using one leftover bottle top facing up.
To increase stability, glue the bottle halves to the paper plates. Additionally, you can add some LED lights to give it a festive glow.

Toilet paper rolls
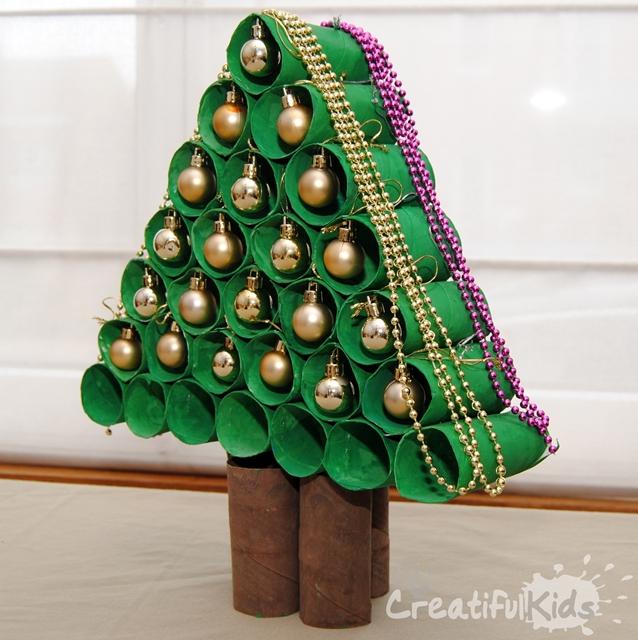
Another common waste material found around the house is toilet paper rolls, for all the obvious reasons. Here's how to make a Christmas tree that can also double as a creative advent calendar.
For this DIY project, gather:
- Leftover toilet paper rolls
- Paint (brown and green)
- Glue
The number of paper rolls needed will depend on your ideal Christmas tree size.
First, use at least two paper rolls for your base. Paint them brown and stick them vertically next to each other.
Then, paint the remaining toilet paper rolls green. To create each layer, stick several paper rolls horizontally. If you use seven paper rolls for the lower level, use six for the next level, then five, continuing until only one remains at the top.
For added creativity, you can paint ornaments on the paper rolls as well.
Use 25 toilet paper rolls to transform them into an advent calendar by slipping a treat inside each hole! Consider adding small numbers to each roll for a more authentic advent experience.

Wine bottles and wine corks
Not all Christmas trees need to be large and extravagant, especially if space is limited. Small Christmas trees can serve as original Christmas table centerpieces, adding a holiday touch to cozy spaces.
For this DIY project, you will need:
- Old wine bottles
- Wine corks
- Paint (your choice of color)
- Glue
The idea is to use recycled paper wine corks for decorations. Glue the corks to the wine bottle until it is fully covered. The attached wine corks add volume, giving it a tree-like appearance. You can decide the size and width of your tree.
Once the glue has dried, unleash your artistic skills to paint the tree as you wish. Adding glitter can enhance the festive look and give it a sparkling finish.
For a unique twist, consider incorporating small fairy lights around the tree for a warm, inviting glow.

If you want to read similar articles to How to Make a Christmas Tree from Waste Material, we recommend you visit our Festivities & Celebrations category.